How To Go Backcountry Skiing
Whether it be for fitness, escaping the crowds, a fear of chairlifts, or simply to connect with mountains in a new way, we’re here to solve your burning question: How do I start backcountry skiing?
Why Go Backcountry Skiing
Sure, riding a lift has its benefits—crushing vert all day, a handy break to rest your legs, quality time yelling at friends between chairs, but really when all that novelty wears off (and at some point it probably will) you’re left with a great option. One that doesn’t involve $25 hamburgers, restricted operating hours, and endless crowds. We’re thinking backcountry skiing with bottomless pow, dog-friendly laps, and just your core group of friends. Sound fun? Read on.
Evaluate Your Skill
This sport involves proficiency at skiing, a knowledge of your gear, and ability to navigate in severe, high-consequence conditions. If you’re looking to learn to ski (without the crowds), patronize your local ski hill. With their affordable rates and lack of crowds, it’s a great place to learn the discipline needed for ski touring. You’d be amazed how hard you can rip on even just 300 feet of vert. Time to level up? Find a ski area that allows uphill touring or a dedicated uphill-only resort like Bluebird Backcountry. Resort policies change so visit their website or give them a call. This is also a great time to find a place that rents alpine touring equipment. Find a local shop, second-hand gear store, or rent directly from the ski area. Then, tour there—a lot. Like for a whole season. Lap it excessively, which will build fitness and comfort with the equipment.

Get The Gear
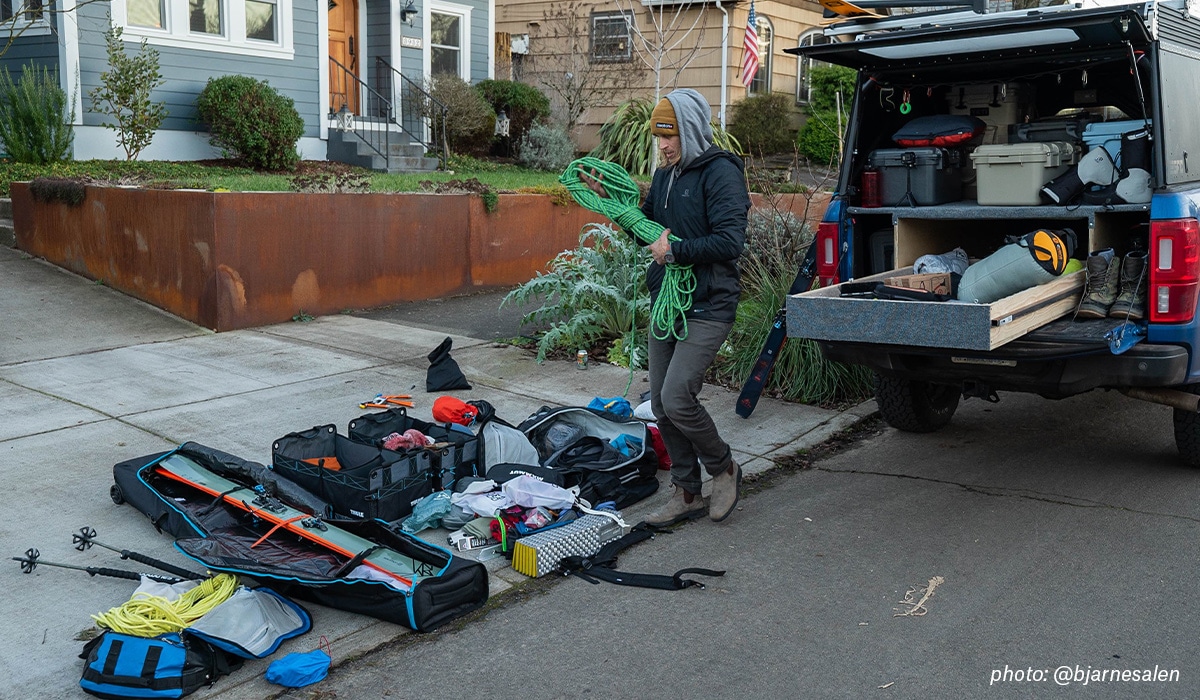
Backcountry skiing involves some slight modifications to your standard alpine skiing gear, and you can lump those modifications into a category known as alpine touring. For a more comprehensive list, check out our Essential Gear Guide, but the basics are as follows:
- Pair of skis
- Mounted with alpine touring frame or tech bindings that frees your heel on the uphill but locks in down when descending
- Skins—a synthetic directional material that allows you to walk uphill without sliding back down
- Beacon, Shovel, Probe
- Ski boots equipped with a walk mode, preferably
- Optional, telescoping ski poles. Fixed poles will do.
- Backpack
- Standard Ski Gear, Layers, Helmet, Water
- Backcountry Skiing First Aid Kit, Leukotape
- onX Backcountry for Route Planning and Navigation
Heading For The Backcountry? Hold Your Horses.
Before you step foot in avalanche terrain, make sure you’ve got the previous three checklist items: physical conditioning, proficiency with the equipment, and the appropriate gear. Next step, find a local avalanche professional certified in AIARE (American Institute for Avalanche Research and Education), the American Avalanche Institute (AAI), The Alaska Avalanche School, or the Silverton Avalanche School as they are the primary curriculum providers in the U.S. Informal training such as the webinars we provide are great, but not a substitute.

Taking an avalanche safety course is multi-faceted, according to Blake Keogh, a Synnott Mountain Guides avalanche instructor and guide who is certified as an AIARE CLT, ITC, & Level 3/Pro 2. “You can expect to cover the AIARE framework, pre-trip planning, reading and interpreting a forecast, methods of snow analysis/assessment, terrain management, digital mapping, tour planning, rescue protocols, weather analysis, group dynamics (i.e. ‘human factors’), and appropriate gear use,” says Keogh. Additionally it’s a great place to find mentors and peers looking to explore the backcountry together. He goes on to add, “AAIRE 1 (or similar course) is really the first step in a long and fun journey of learning how to ski in the backcountry.”
Partner, Partners, Partners—Will You Be My Partner?
Ski touring should be a group activity—you can’t unbury yourself after all. Curating a trusted group of backcountry touring partners can sometimes be the difference between life and death. You’ll share experiences that will bond you closer than most other friendships. It’s amazing what some cold burritos, a crisis scenario, and tailgate beers can do for a friendship. So spend time finding people with similar or more advanced levels of avalanche education and equal risk tolerance as you.
Similarly, find partners at home that can be your point of contact. Share your planned route, and drop a Waypoint of your parking spot and intended destination.
Read the Forecast
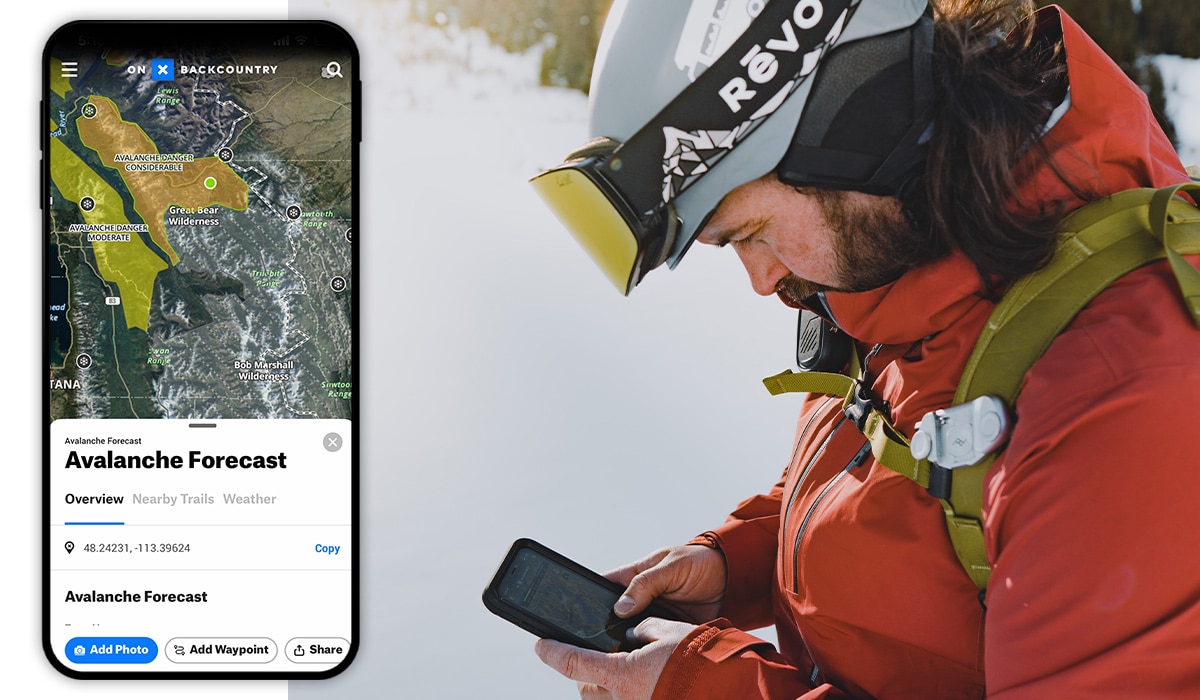
In November, we partnered with dozens of avalanche centers across the country to raise awareness about avalanche safety and education. In countless conversations about the first step in preparing for a day out in the backcountry, their advice was to “read the forecast.” Avalanche forecasts, available in the onX Backcountry app, are the place where you can go to get daily reports of recent slides, observations, and projections. You’ll learn all about how to read and interpret these in your avalanche course.

Do Your Route Planning
When you’ve got all your gear, education, and information lined up, you’re finally (almost) ready to hit the backcountry. The last piece is an offline capable navigation tool like onX Backcountry. “I can’t stress this enough, digital navigation tools are among the most important ones we bring into the backcountry. I have had numerous occasions in whiteout conditions (one notable adventure on Mt. Rainier looking for the top of the Nisqually Chute) when the digital mapping/GPS tool on my phone has gotten me down safely,” says Keogh. With the ability to track your route, set Waypoints as objectives, and dependability as far as you travel, it’s a must-have for winter adventures.
Tailgate Analysis
Lastly, once you’ve wrapped up a successful day, crack open your aprés drink of choice, and talk with your partners. Evaluate the day, what went well, and what didn’t. What decision would you make differently next time? Ski touring is a continuously improving discipline. Let’s all treat it like one.
