How To Use Backcountry Rec Points
Written by Adrianne Forrester
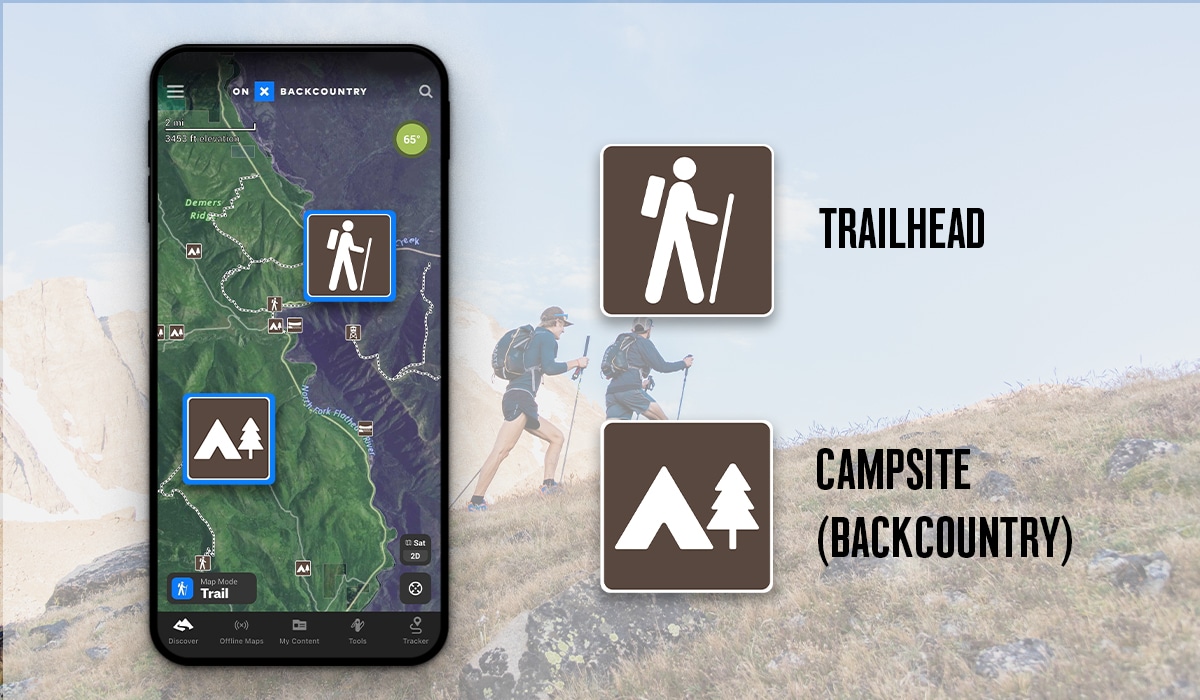
While exploring the features on the Backcountry App, you may have noticed brown and white icons showing a variety of different images—these are Rec Points. Rec Points (officially “Recreation Sites” in the App) are hidden gems in the Backcountry App that contain essential information for planning and discovering adventures.
What Are Rec Points?
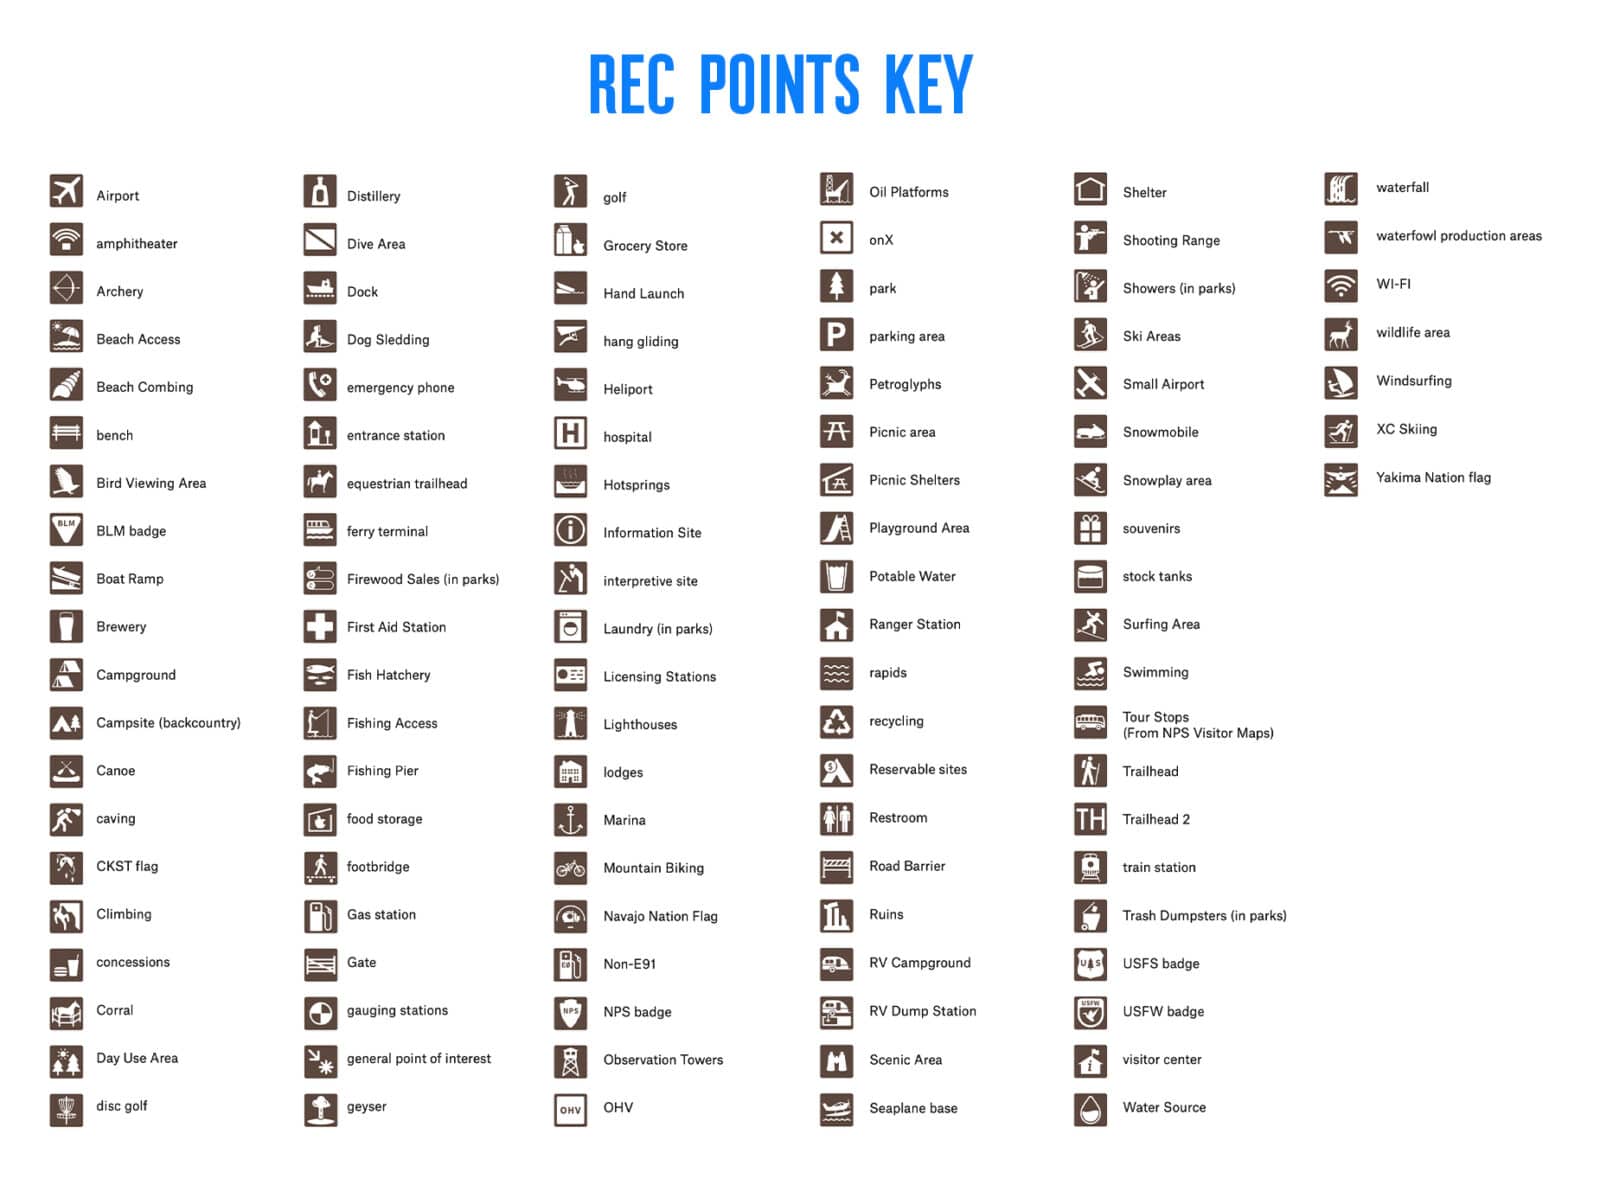
Rec Points are more than 100 different icons that indicate the location of services, recreation sites, and other points of interest within onX Backcountry that you can’t get on a handheld GPS. These icons show a wide variety of facilities—from hot springs and trailheads to airstrips and beachcombing areas, nearly every kind of adventure has an icon in the App. Rec Points are in both backcountry and urban areas. The most common Rec Points you’ll see in the backcountry are campgrounds and trailheads. If you’re in a city, Rec Points will show grocery stores, parks, and of course, urban trailheads. Be on the lookout for some fun Rec Points on Backcountry too—NASA facilities, breweries, and frisbee golf courses are all waiting to be found. Every Rec Point presents an overview of the location and weather and offers you nearby trails. The rest of the information within a Rec Point varies; there are many different facts about an area that you can view within a Rec Point’s info card.

Why Do I Want to Use Rec Points? When Do They Help?
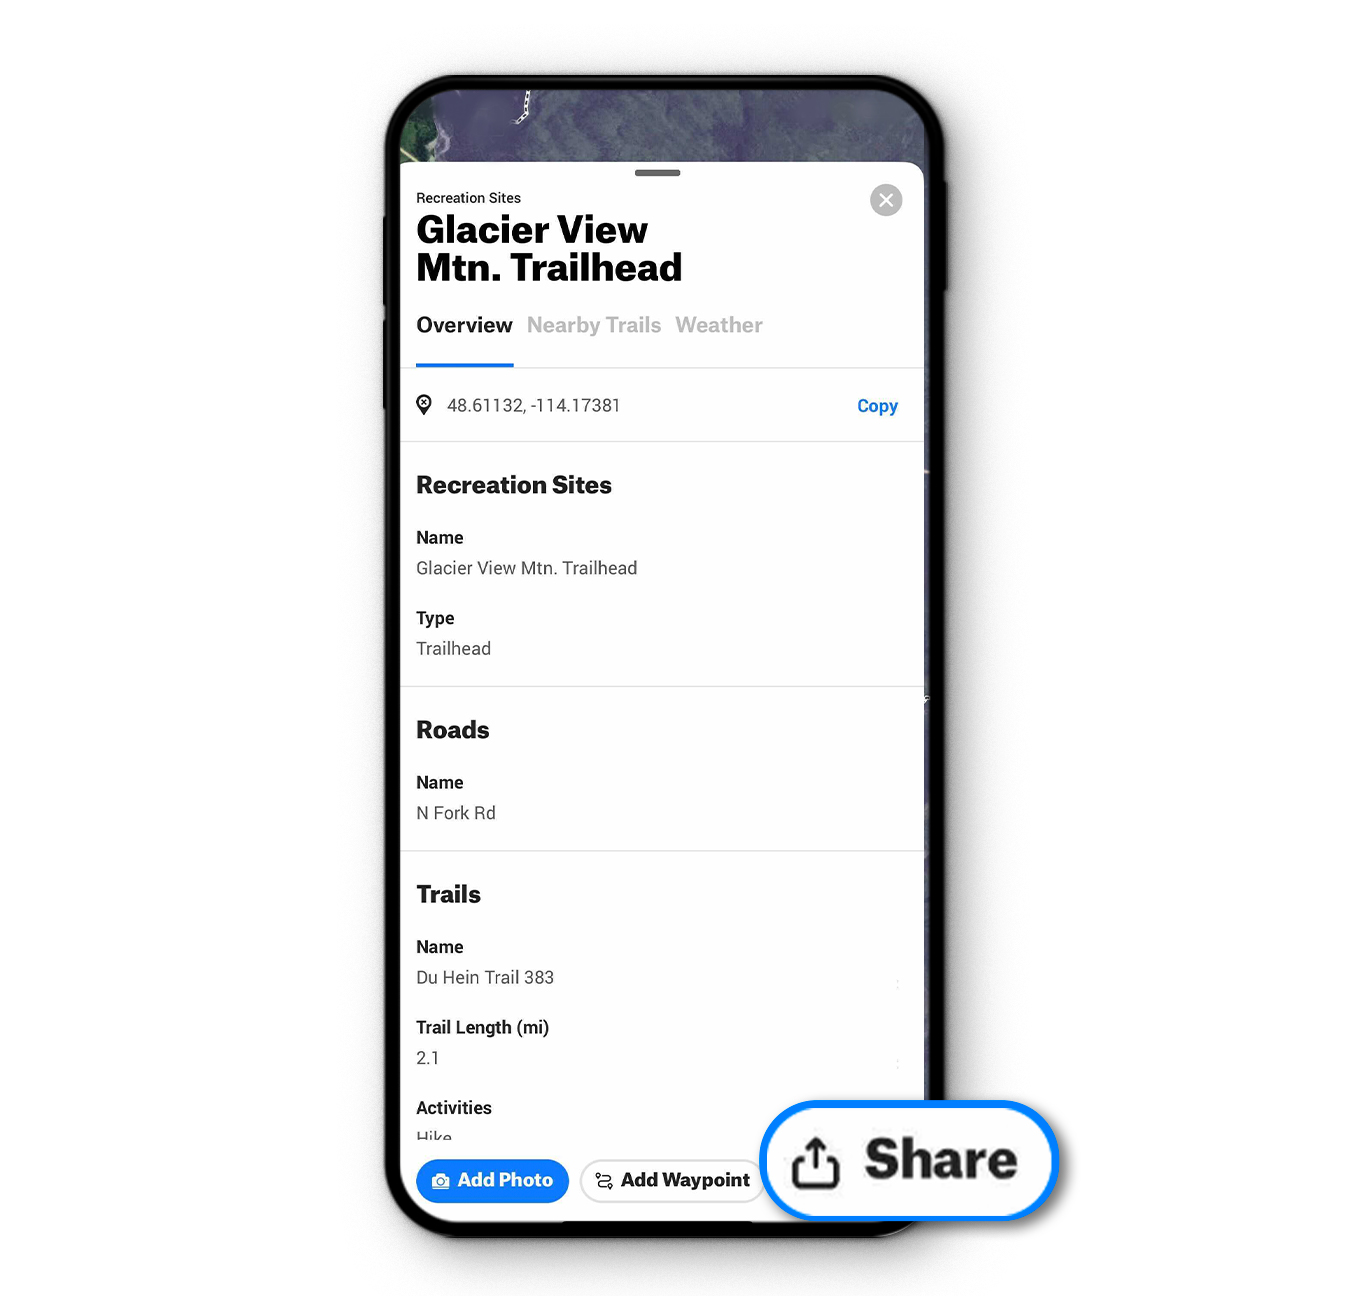
Rec Points can do more than just tell you what is at a location. Each Rec Point has an info card that details the site, listing things like the address, what kinds of recreation are permitted, historical information, and in-depth weather forecasts. Some Rec Points for Forest Service cabins or lookout towers even have direct links to their recreation.gov webpage so that you can make reservations within the Backcountry App. Rec Points will still appear on your Offline Maps, too; this can be useful when you need to find a medical facility, emergency phone, or potable water when there isn’t cell service.

How Do I Use Rec Points?
Zoom out or pan around from a location on the map and look for the brown and white icons. See a Rec Point that interests you? Tap on it, and you’ll see the info card. Swipe up on the card to see all of the Rec Point’s info on your screen. You’ll see three tabs on the info card: Overview, Nearby Trails, and Weather. Tap on each heading to view nearby Featured Trails and detailed weather data. If you know the name of a specific cabin or trailhead, enter the name in the search bar. If it is a Rec Point, you’ll see it in your search results.

What Else Do I Need to Know?
Rec Points highlight sites that you otherwise may have missed. Keep your eyes out for some of our favorite Rec Points that indicate waterfalls, spelunking caves, and petroglyphs. The house from The Goonies even has its own Rec Point! Discovering all the different Rec Points near you is an adventure of its own.
Why Can’t I See Any Rec Points?
The degree of magnification on your map will affect how many and which Rec Points are visible. As a general rule of thumb, zoom in to a five-mile view to start seeing Rec Points. Zoom in closer to increase the number of Rec Points shown.
Can I Share a Rec Point?
Absolutely. After opening a Rec Point, tap the Share button at the bottom of the info card. You can share Rec Points via text, link, social media, or even AirDrop.